
Sam “King of the Hilltop”
There was some great feedback from the previous post in this series, Part 1. So after a quick recap, we will get to the part where you introduce yourself to that special someone and ask for a quote.
Recap
Before you ask somebody for a quote, you need to do research. Research an artist’s preferred medium, their experience, as well as if you like their art or not. Once you have collected names or are in that process, you should be nailing down the theme of your game. What should it look like? Detective Noir social deduction theme is going to be way different than heavy euro Cyberpunk. This means choosing the proper art medium and style.
So, let’s move on to step 3 in this process.
How much is this relationship going to cost me?
Can we go dutch? The answer is no.
Also, don’t ask an artist to work for you for exposure because you are going to make it big. That is just plain insulting. Pay the people that are going to make your game look and feel good. If it’s a really close friend and they insist on doing it for free, pay them anyways. Whether it’s in the form of dinners, hot pastrami sandwiches, or Chicago style deep dish pizza with spicy sausage and pepperoni. Not that I have any personal preferences.
This means you will need a budget. Which can be as simple as you have $500 in your bank account for this game. There, that’s your budget and that is okay. There is nothing wrong with that approach for a lot of people. However, there is another way for the more publisher minded individuals.
Work out how much your game is going to cost before hand by getting quotes from manufacturers. If you want more information about that, see our articles Taking Command of Board Game Manufacturing Part 1 and Part 2.
Once you have your game costs, look at how much you are going to produce. Once those costs are all in, start pricing your game and looking at the difference between the price and all of the costs associated with getting that game to a customer. For a Kickstarter example, you have the cost of the game, as well as any additional costs for stretch goals, pay Kickstarter their percentage, merchant fees, and pledge manager fees if you use one. If shipping is included in your price, include that as well.
Once you have that, compare the cost versus the price of the game. This should be considered at differing amounts of units produced and units sold. Then you can look at adding the cost of art and what you can live with in terms of margins.
Now, more expensive art will cut your margins smaller but it may allow you to sell more units of the game. Another option is to increase the price of the game in order to make those margins more in-line with what you are willing to live with.
Now, let’s go to step 4, the part where quite a few people get nervous. Asking the artist if they are interested in you.
Trying To Achieve Love At First Sight
Alright, so you think you found “the one.” That person who will make your game glorious and happy for all of eternity. Now, it’s time to make the introduction. Instead of trying to explain my thoughts and philosophy on the subject, I am going to give you an example that you can use. I did leave it out some information about the artist to protect their privacy.
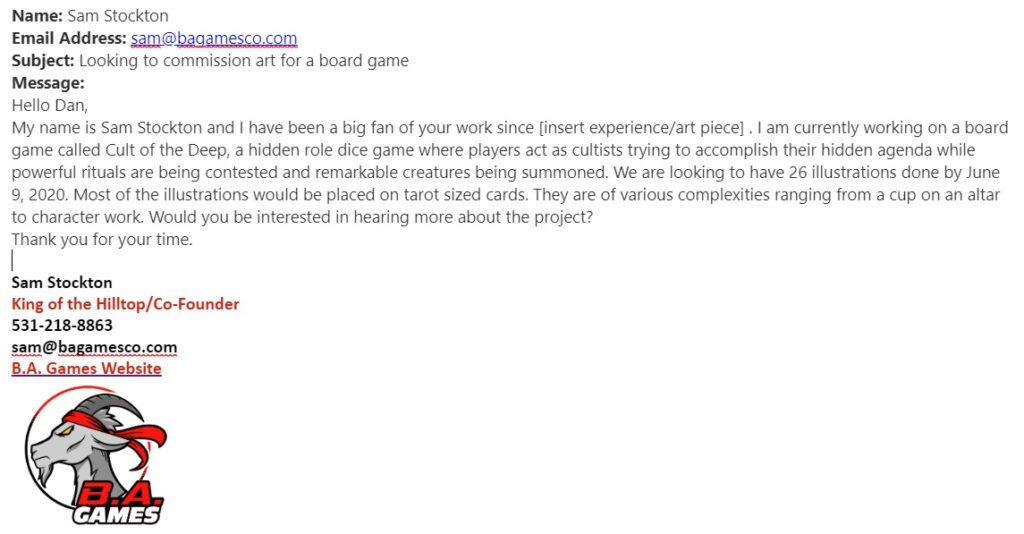
This is how I approached finding an artist for our game. Notice a few key things that an artist needs to know before they can say yes to be interested.
They need the following:
- Who you are.
- What kind of job is it. (In this case it’s a board game and not a book cover, album cover, etc.)
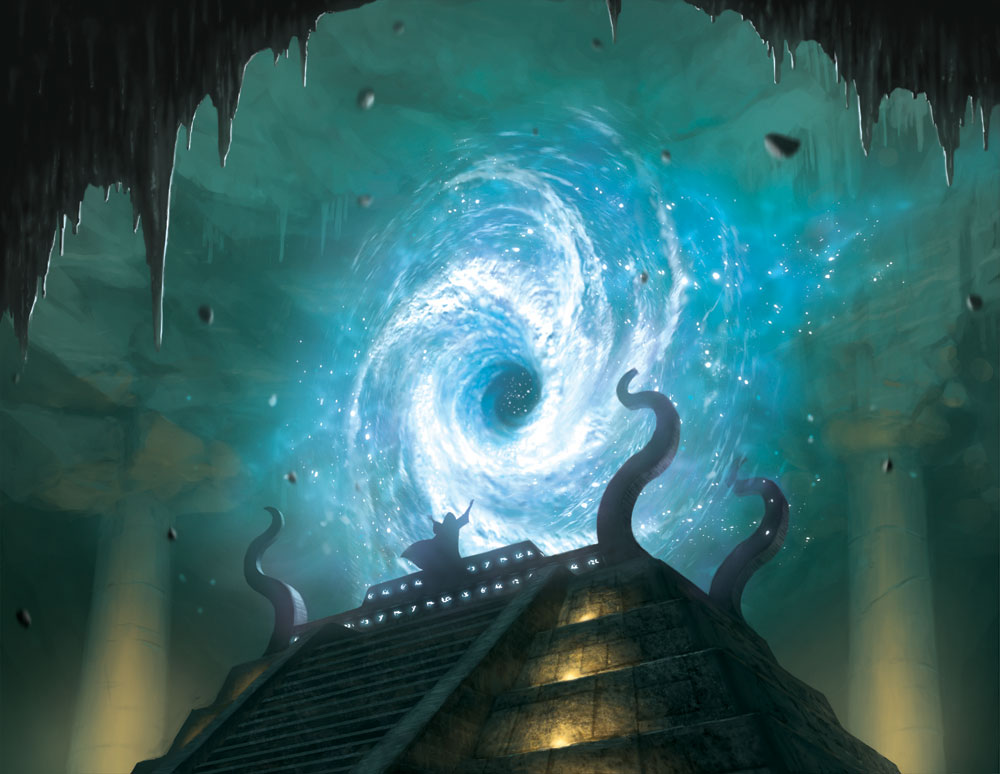
- What style/genre is the art going to be in. (Cult of the Deep, cultists, rituals, summoned creatures)
- Scope of the work needed. (26 illustrations most on tarot sized cards. Various complexities from simple to more complicated.)
- When is the deadline. (This is important as it helps the artist, who may already be doing a project, know where your project falls and whether they have time for it.)
- Be grateful for people’s time. (This is just a general for all interactions you have with people. Be nice!)
This is how I approach my first contact with artists. The one other thing that I do is if their artwork is a perfect match for the game, I may add 2-3 images of their work attached to the email and explain that I love this artwork and want more like the attached images. It helps them know what you are expecting from them.
Now, there is no more time to wait and stall, it’s time for step 5, ask them out.
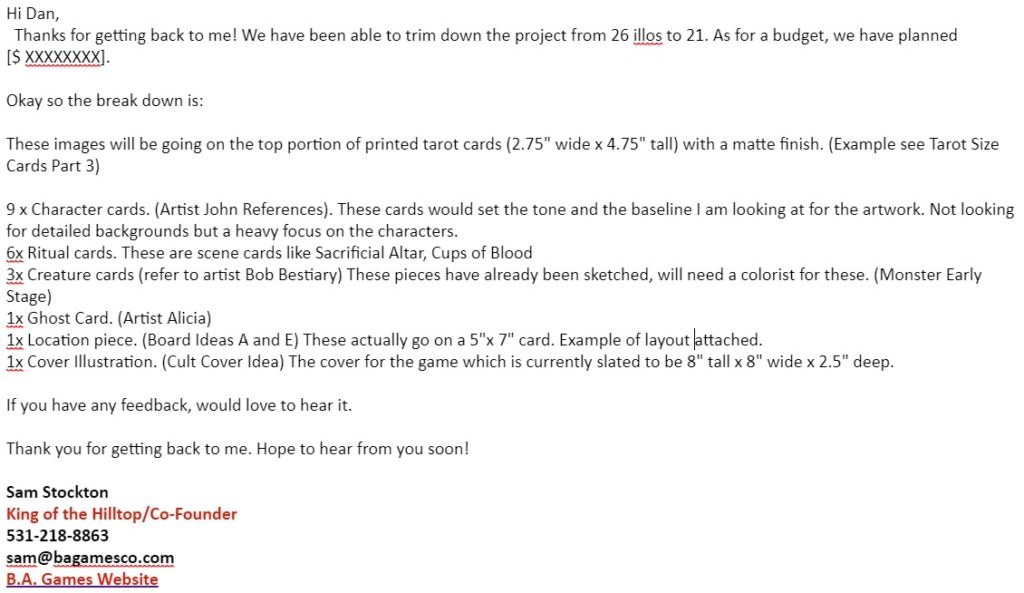
Asking Them Out…For A Quote
So if they come back with a favorable response, then it is time to answer their questions and give them the chance to quote! Without further ado, here is an example of one that I have used, minus some personal information and a few tweaks.
So, that’s it for today! Now go out there and find that special someone to make your dreams come alive!
I like it BIG
Ed “Duke of BAzlandia”
Since I don’t have much to add in the art department I am going to talk a little bit about one of the side projects I have started and is currently ongoing.
The first thing to keep in mind is that I hate mowing. It has been a goal of mine to slowly get rid of any mowing involved with my backyard. It is just a pain. So I decided about 3 years ago that I needed to get rid of anything that would need to be mowed. I have accomplished almost all of this. There is only a small section left, but I still did not know what to do with this area.
Inspiration struck while teaching two of my older children Catan. I needed to make a giant backyard size Catan board and still have it playable and, like the original, the board needs to be different every time you play.
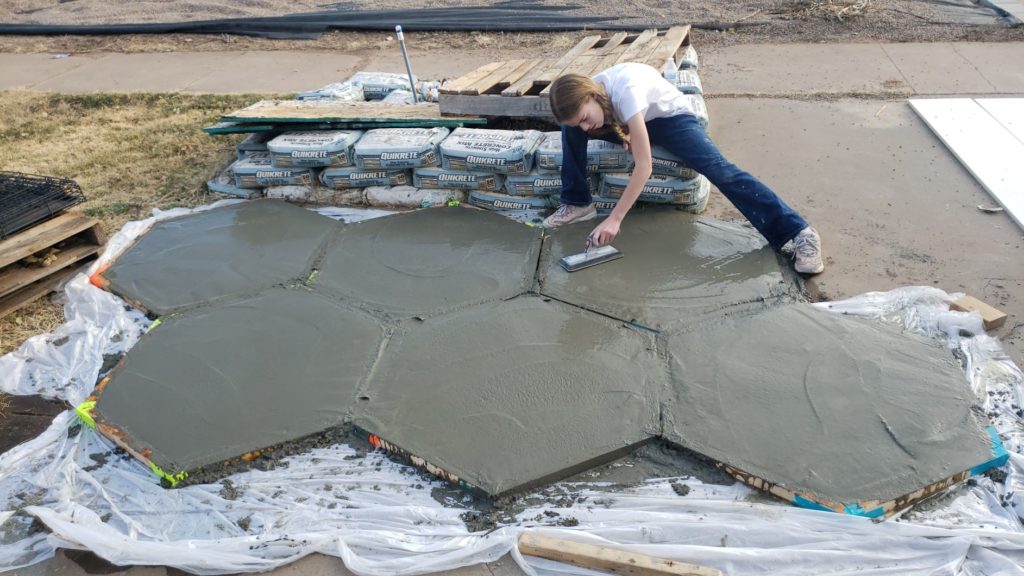
For the board I plan on making giant concrete hexagons (these can be seen from the picture above with my oldest child). These will then be laid down in the shape of the island. I created forms by using 2×4’s cut down the middle using my table saw. Once I had these I realized I needed to measure the area where I plan on putting this monstrosity so I could make sure I didn’t make the form for the hexagons too big. So I measured my area and laid out the proposed plan on some graph paper. I then drew out the hexagon shaped board of Catan. From there I determined the actual measurement for how far across each individual hex tile should be in real life. Next, I Googled a hexagon calculator which allows you to enter in a couple of dimensions and it will figure out the rest for you. I then went into cutting the forms.
Each form is made of 6 boards with the interior dimension of the board being the length of one side of the hexagon and each end of that board cut at a 60 degree angle so when the boards are put together it forms a nice 120 degree angle. When all 6 boards are cut exactly the same and put together they form a perfect hexagon. Since the boards I used to create the forms were fairly thin and I didn’t want to risk splitting them I decided to hold them together with duct tape. This also makes the forms easier to pull apart when the concrete has cured.
Once the forms were complete, I laid down some plastic on my driveway, mixed up some concrete, poured the concrete into the forms, leveled it off, and finished it off with a trowel.
Now I’m currently still pouring hexes and have only finished the 6 you see in the picture. Each one of these weighs over 100 pounds. You may be asking yourself, how are you going to make the board changeable? To answer your question, you will have to wait for the next update.
ENTER YOUR EMAIL BELOW FOR MONTHLY UPDATES AND THANKS FOR SHARING WITH YOUR FRIENDS